How To Fix Dripping Tap?
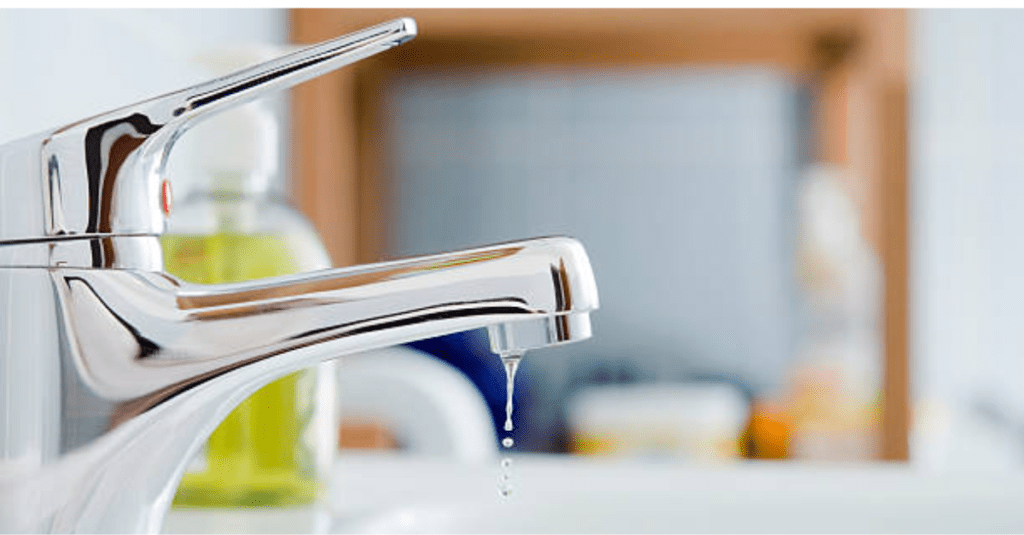
A dripping tap is annoying and wastes a significant amount of water over time. Fixing a dripping tap can be a straightforward DIY task, saving you money and conserving water. If there are any plumbing issues at your place, you need to call a professional and certified local plumber. Here’s a simple guide to help you fix a dripping tap, along with some handy tips and ideas.
Important Tools You’ll Need?
Before you start, collect these essential tools:
1. Adjustable wrench
2. Screwdriver
3. Replacement washers or cartridges
4. Tape
5. Cloth or towel
Step-by-Step Guide to Fixing a Dripping Tap
- Turn Off the Water Supply
Locate the water shut-off valve under the sink and turn it off. This will prevent water from flowing while you work on the tap. - Plug the Drain
Use a sink plug or a cloth to block the drain. This will prevent small parts from falling down the drain while you disassemble the tap. - Remove the Tap Handle
Use a screwdriver to remove the screw on the tap handle. Once the screw is out, gently lift the handle off the tap. - Disassemble the Tap
Use an adjustable wrench to unscrew the packing nut. Carefully remove the stem or cartridge, depending on your tap type. Take note of the order and orientation of the parts for reassembly. - Inspect and Replace Washers or Cartridges
Check the washer at the bottom of the stem or the cartridge for signs of wear and tear. If the washer is damaged, replace it with a new one. If your tap uses a cartridge, replace the entire cartridge if it is worn out. - Reassemble the Tap
Reassemble the tap in the reverse order of disassembly. Ensure all parts are tightened securely but not overly tight, which can cause damage. - Turn On the Water Supply
Once everything is reassembled, turn the water supply back on. Slowly open the tap to check for any leaks. If the tap no longer drips, you’ve successfully fixed it.
Key Additional Tips and Ideas
Regular Maintenance
Regularly inspect your taps and replace washers or cartridges as needed. This can prevent dripping issues from occurring in the first place.
Upgrade to Modern Taps
Consider upgrading to modern taps with ceramic discs. These are more durable and less likely to drip compared to traditional rubber washers.
Water-Saving Aerators
Install water-saving aerators on your taps. They reduce water flow without compromising performance, helping to conserve water and reduce your utility bills.
Professional Help
If you’re unsure or uncomfortable with DIY repairs, don’t hesitate to call a professional plumber. They can quickly and efficiently fix the issue, ensuring your taps are in top condition.
Conclusion
Fixing a dripping tap is a manageable task with the right tools and a little know-how. By following these simple steps, you can stop the drip and save water. Remember to perform regular maintenance and consider upgrades to keep your plumbing in excellent shape.
For more plumbing tips and expert advice, visit our website or contact K B Plumbing & Heating today!